How To Burn Music Videos To A DVD for A Car?
Are you looking to elevate your car's multimedia stereo system by adding a personal touch with your favorite music videos? Burning music videos to a DVD for your car can seem like a step back in time, but it's a great way to enjoy a curated collection of your favorite visuals on the go. Here's a step-by-step guide on how to do it.
Step 1: Collect Your Music Videos
Before you start, make sure you have a collection of music videos saved on your computer. These should be in a digital format such as MP4, AVI, or MOV. You can download them from online stores or use videos you've created yourself. Remember to respect copyright laws and only use content you've legally obtained.
Step 2: Convert Your Videos

Most car in dash DVD players will play videos in the standard DVD format, which is not the same as the digital video files you might have on your computer. You'll need to convert your files to MPEG-2 format and then author a DVD. There are many software options available for this, such as:
Freemake Video Converter
Any Video Converter
Wondershare UniConverter
Choose one that suits your needs and follow the instructions to convert your music videos to the correct format.
Step 3: DVD Authoring
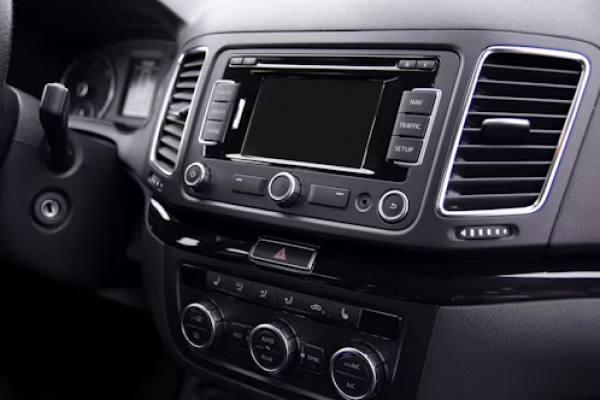
DVD authoring is the process of creating a DVD that can be played by a car radio with DVD player. This involves not just burning the video files onto the DVD, but also creating the navigation such as menus, chapters, and play buttons. Authoring software like DVDStyler or Adobe Encore can help you with this process.
Step 4: Burning the DVD

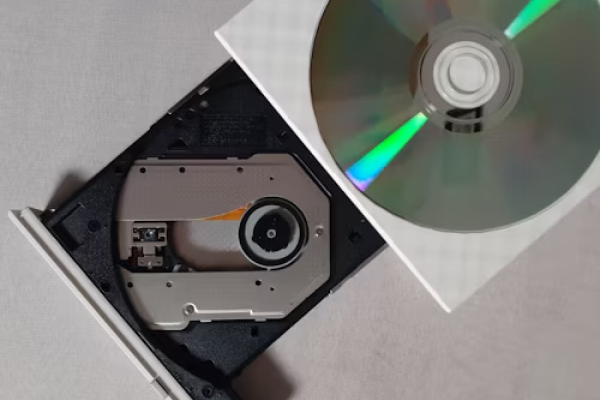
Once you've authored your DVD, you'll need to burn it to a blank DVD disc. Here's what you need to do:
Choose the Right Type of DVD
Make sure you're using a blank DVD that's compatible with your car's android auto DVD player. DVD-R is generally the most widely accepted format.
Use Reliable Burning Software
There are numerous DVD burning programs available, such as ImgBurn, BurnAware Free, or Nero Burning ROM. Install one of these on your computer, and open the program.
Load Your Authored DVD File
In the burning software, select the option to burn a video DVD and load the authored DVD file you created earlier.
Burn the DVD
Follow the prompts in your software to burn the DVD. This usually involves setting the burning speed (a lower speed can help ensure the quality of the burn) and then starting the process.
Finalize Your DVD
Make sure to finalize the DVD if your software requires it. This step is crucial as it ensures that the DVD will be playable in most flip up DVD player.
Step 5: Testing
Before you head out, test the DVD in your car to make sure it plays correctly. Check that the quality is up to your standards and that the double din CD DVD player in your car can read the disc without issues.
Tips for a Successful Burn
Always verify the file format compatibility with your car's DVD head unit.
Use high-quality DVDs to avoid playback issues.
Keep the video resolution in mind; most car DVD players don't support HD playback.
Organize your videos in the order you want them to play before burning.
Always test the DVD before going on a long trip.
Conclusion
Burning music videos to a DVD for your car is a great way to personalize your driving experience. With a little bit of preparation and the right tools, you can create a professional-looking DVD with all your favorite tracks to accompany you on the road. Just remember to keep your eyes on the road and enjoy your custom video playlist when it's safe to do so—like when you're parked or on a break. Happy burning and safe driving!

