
How To Test A Car Stereo Head Unit Without A Battery?
KJXNUNOO
Testing a car stereo head unit without a battery can be a challenging task, but it's not impossible. Whether you're a DIY enthusiast, an electronics hobbyist, or simply trying to troubleshoot your car audio system, understanding how to safely and effectively test a universal head unit without a car battery is a useful skill. In this blog post, we will walk through the steps and precautions necessary to test a car stereo head unit using an alternative power source.
1.Understanding the Basics
Before you begin, it's crucial to understand the power requirements of a car stereo double din multimedia head unit. Typically, car stereos operate on 12V DC power. When a car battery isn't available, you'll need a power supply that can deliver the same voltage and current without risking damage to the unit.
2.Equipment You'll Need

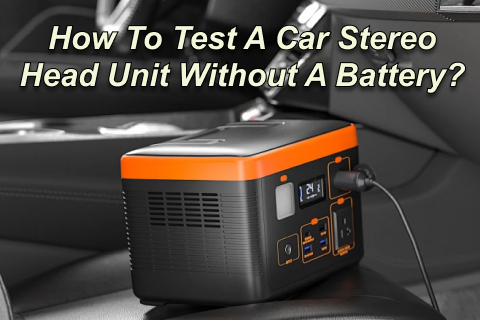
A 12V DC power supply: Ensure it can provide sufficient current. Good quality car stereos usually don't require more than 10A, but it's always best to check the specific requirements of your head unit.
Multimeter: To verify the voltage and polarity of your connections.
Wire strippers and connectors: For making secure connections.
Electrical tape or heat shrink tubing: To insulate exposed wires.
3.Step-by-Step Guide to Testing a Car Stereo Head Unit
Step 1: Safety First
Before proceeding, make sure your power supply is turned off and unplugged from any electrical outlet. This will prevent any accidental short circuits or electrical shocks.
Step 2: Prepare the Power Supply
Plug your 12V power supply into a power outlet but keep it turned off. Position it close to your work area where you intend to test the head unit.
Step 3: Identify the Wiring
Locate the power wires on your double din multimedia head unit. Typically, these include:
A red wire for switched power (turns on with the ignition).
A yellow wire for constant power (keeps memory settings).
A black wire for the ground.
Refer to the head unit's manual for the exact wiring diagram.
Step 4: Connect the Power Wires
Using wire strippers, prepare the ends of the red and yellow wires for connection. Twist the exposed ends of these wires together, as both will receive power from the same source. Connect them to the positive (+) terminal of the power supply. Then, connect the black wire to the negative (-) terminal.
Step 5: Insulate Your Connections
Use electrical tape or heat shrink tubing to cover the exposed wire connections. This is to prevent any short circuits.
Step 6: Verify the Voltage
Before turning on the power supply, use a multimeter to verify that you have set it to the correct voltage (12V). This step is crucial to prevent overloading the head unit.
Step 7: Power Up
Turn on the power supply. If everything is connected correctly, your head unit should power up. If it has a display, it should light up, and you should be able to hear the unit's fan (if it has one) running.
Step 8: Test the Functions
Go through the various functions of the head unit to ensure they are all working correctly. This includes the radio, CD player, auxiliary inputs, and Bluetooth connectivity if available.
Step 9: Listen for Audio Output
If you have speakers connected to the head unit, you should be able to test the audio output. If not, you may need to connect a speaker or use headphones with a suitable adapter to test the sound.
Step 10: Turn Off and Disconnect
Once you have finished testing, turn off the power supply. Disconnect the power wires from the supply before unplugging the unit from the wall outlet.
4.Precautions and Tips
Never touch exposed wires or terminals while the power supply is on.
Ensure your power supply can handle the current draw of the double din android auto head unit to avoid overheating or damage.
If you're not confident in your ability to safely perform these steps, consult with a professional.

5.Conclusion
Testing a car stereo head unit without a battery is straightforward if you follow the proper steps and safety precautions. Using a 12V power supply, you can simulate the conditions of a car battery and ensure that your head unit is functioning correctly before installation or troubleshooting. Remember to always prioritize safety and double-check your connections to avoid any electrical mishaps. With a little patience and attention to detail, you can successfully test your car stereo head unit outside of the vehicle.