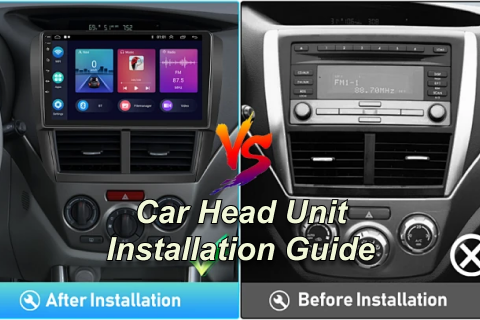
Car Head Unit Installation Guide
Upgrading your car's head unit can be a transformative experience, enhancing not only the value of your vehicle but also your driving pleasure. Whether you're looking to improve sound quality, add functionality, or simply modernize your dashboard, this guide will walk you through the process of installing a new wireless android auto head unit.
1.What You'll Need
Before you begin, ensure you have the following:
A compatible wireless head unit
A vehicle-specific wiring harness adapter
A set of screwdrivers
Wire strippers and crimpers
A panel removal tool
Electrical tape or heat shrink tubing
A dash kit (if necessary for your vehicle)

2.Step-by-Step Installation
Step 1: Prepare Your Tools and Workspace
Clear out your workspace and gather all the necessary tools and components. Disconnect the negative terminal of your car's battery to prevent any electrical shorts.
Step 2: Remove the Existing Head Unit
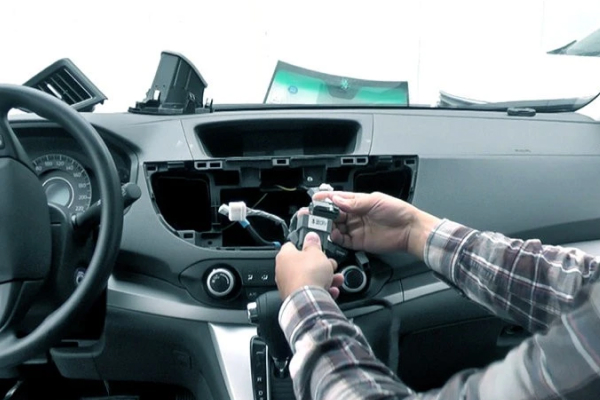
Use the panel removal tool to carefully pry off any dashboard panels. Remove screws or bolts securing the double din android auto head unit in place. Slide out the old head unit and disconnect the wiring harness and antenna cable.
Step 3: Connect the Wiring Harness Adapter
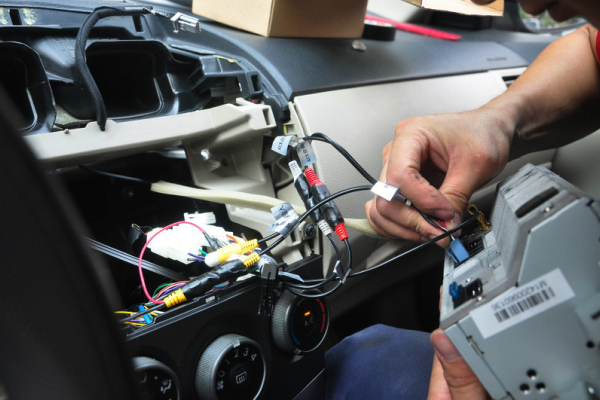
Attach the wiring harness adapter to the car's wiring connector. This adapter ensures that you can connect your new android automotive head unit without any cutting or splicing, preserving the vehicle's original wiring.
Step 4: Prepare the New Head Unit
If your new double din navigation head unit requires a dash kit for a proper fit, assemble it according to the manufacturer's instructions. Connect the wiring harness adapter to the new head unit's wiring harness. Ensure all connections are secure and insulated with electrical tape or heat shrink tubing.
Step 5: Connect the Antenna Cable
Plug the antenna cable into the new double din bluetooth head unit. If your new head unit has additional inputs (like USB or AUX ports), route these cables to the desired location in your vehicle now.
Step 6: Test the Head Unit
Before fully installing the new head unit into the dash, it's crucial to test it. Reconnect the negative terminal of your car's battery and turn on the ignition to test the new unit. Check all functions, including radio reception, media playback, and Bluetooth connectivity if applicable.
Step 7: Secure the Head Unit and Reassemble the Dash
Once you've confirmed everything is working correctly, secure the new head unit in the dash with the provided screws or bolts. If everything fits snugly and the unit is stable, reattach any dashboard panels or trim pieces.
Step 8: Final Testing
With everything reassembled, perform one last test to ensure all controls and functions are accessible and working correctly. Adjust any settings like the clock or equalizer preferences according to your taste.

3.Tips for a Successful Installation
Read the Manual: Before starting, thoroughly read the installation instructions for your new head unit and dash kit.
Stay Organized: Keep screws and panels organized to ensure nothing gets lost and everything goes back in the right place.
Be Patient: Take your time with the installation to avoid damage to your car's interior or the apple carplay head unit.
Check for Functionality: Ensure steering wheel controls, if present, are still functional with the new unit.
4.Conclusion
Installing a new head unit can be a satisfying project that significantly upgrades your in-car entertainment experience. By following this guide and proceeding with care and patience, you can achieve a professional-looking installation. Remember, if you ever feel out of your depth, there's no shame in seeking help from a professional installer. Enjoy your new system and the improved journey it brings!
